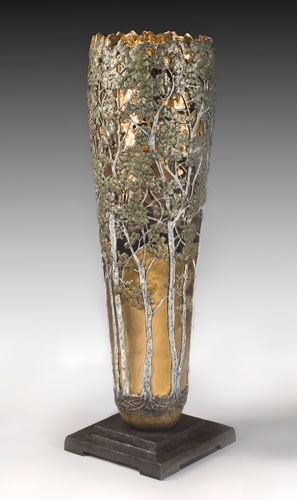
Growing a Bronze Forest
Carol Alleman Grows a Bronze Forest from Clay to Bronze
The choice of bronze for my work was not accidental. Bronze is a material durable for generations upon generations, not unlike the woodlands themselves; and the patina on it, over time, changes in appearance to varying degrees, again not unlike the woodlands themselves. The vessel form, which has become my signature form, enhances and reflects the essence of both longevity and change. Ancient and feminine in quality, its circular form is never-ending (no beginning and no end) as it stands infinitely open to receive and share or birth its contents. All that it births changes with the seasons of life. These same characteristics shared by the woodlands, the vessel, the bronze material, and the process of creating the work also mirror our human lives: ever changing; one life always influencing another; shifts in appearance; and always holding the potent and infinite capacity to give and receive according to our season.
The Creative Process
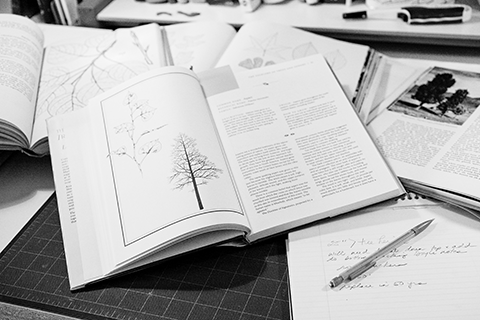
Researching plants or tree subjects
Whenever possible, I travel to personally photograph and sketch particular plants or trees where and as they grow in their natural habitat. This is both a time of data and photographic collection and a rich experiential process. Often I bring a leaf or fallen piece of bark or seed pod home with me as inspiration, reference and a welcome sculpting companion. More often, I find phenomenon or matter unexpectedly and these are delightful treasures to carry home as well when possible, even if simply in photographic image. Outdoors amidst the telling stir of nature while searching for a particular plant or tree, I am inevitably invigorated by the smell of the woodlands – and the visible reminders of all that is potently growing (regardless of the season). With a closer look, the floor of the forest, garden or woodland is as revealing as all that grows above it. It is here, in the laden floor, where many of the life regenerating patterns begin their next journey. The fallen acorns, the dried leaves, the bugs and insects incessantly at work – all working in harmony – each one impacting the other all the while happening in woodland silence and mystery. So it is, with our lives – the impact of all we do, say and think – quietly working in the seemingly background of our lives, yet so very vital and richly potent. It is this beautiful web of nature and mystery that incessantly inspires my work while simultaneously bringing a ray of joyful light to my own earthly journey.
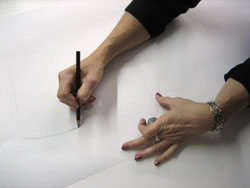
Sketching armature shape
Many hours are spent behind the keyboard and the covers of my extensive library immersed in lengthy research. During this time I begin raw sketches of what I feel to be the proper form for the piece, as well as, sketches of the particular plant or tree features and details. I begin a fresh notebook referencing inspirational characteristics of the plant or tree to enrich my creative process. Often, during this time, I am surrounded by piles of notes, bookmarked pages, images and text – deeply immersed in the essence of this one unique voice of nature while attempting to remain as open as possible to truly hear its unique voice and wisdom.
Once I have chosen what feels to be the proper form for the piece, I enlarge the form on paper to life size. This paper template is then used to create either a hand-built water-based clay form, or more often a foam armature to support the oil clay. Years ago when I first began working with clay, I often dug my own clay in the desert and always hand-built the vessel forms using coiling and slab techniques. While I thoroughly enjoyed the deep connection to the earth while hand-building the forms, as my work progressed, the water-based clays became unfriendly to the ever growing period of time required to sculpt the vessels. Today, I primarily use oil-based clays over an armature to allow for support of the work throughout the lengthy sculpting process.
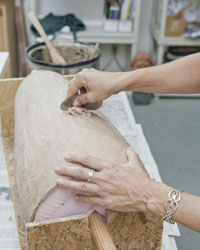
Applying and Shaping clay on armature
With the foam armature complete, I begin preparing the clay to apply an even layer onto the foam. Extensive scraping and evaluating the overall form follows, allowing me to create a smooth, even surface to begin the designing process onto the clay. The repeated rhythm of the scraping and turning of the piece, is a time when I am intently listening and reflecting – another avenue of enhancing my connection to the particular plant or tree with which I am working. It is also at this point where I visualize the final piece, sensing if my vision feels congruent with my initial intent.
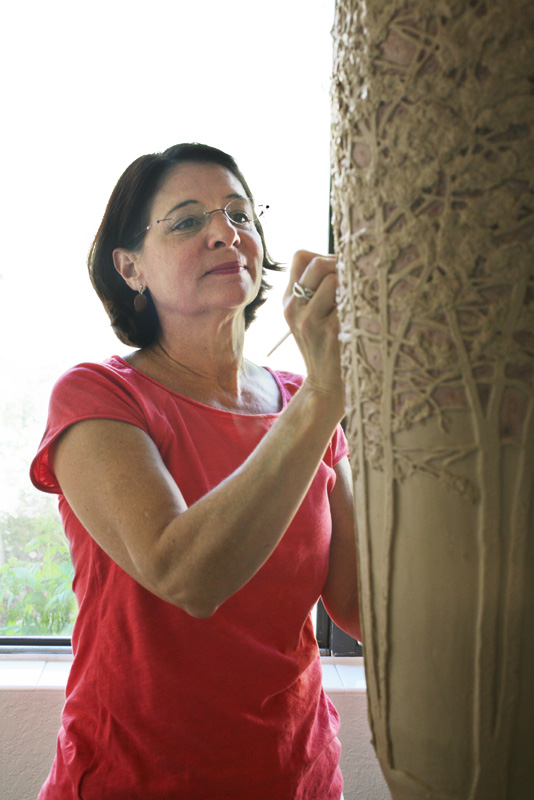
Carol at work
With the clay form prepared, using a small needle tool, and surrounded by images of the plant, animal and/ or tree, along with any images I may have designed of the finished piece, I begin drawing the design onto the clay surface. The roots of all the trees will be connected, following the circular form with no beginning and no end. Once complete, a highly intricate maze of thin lines will guide the sculpting process and lead the way through completion. I evaluate the design, once completely sketched onto the clay surface, and make any adjustments I feel necessary to enhance or simplify it. A variety of sculpting tools are used as I employ both the subtractive and additive sculpting methods in my work. I begin with the subtractive process – removing all portions that will not contribute to the final piece.
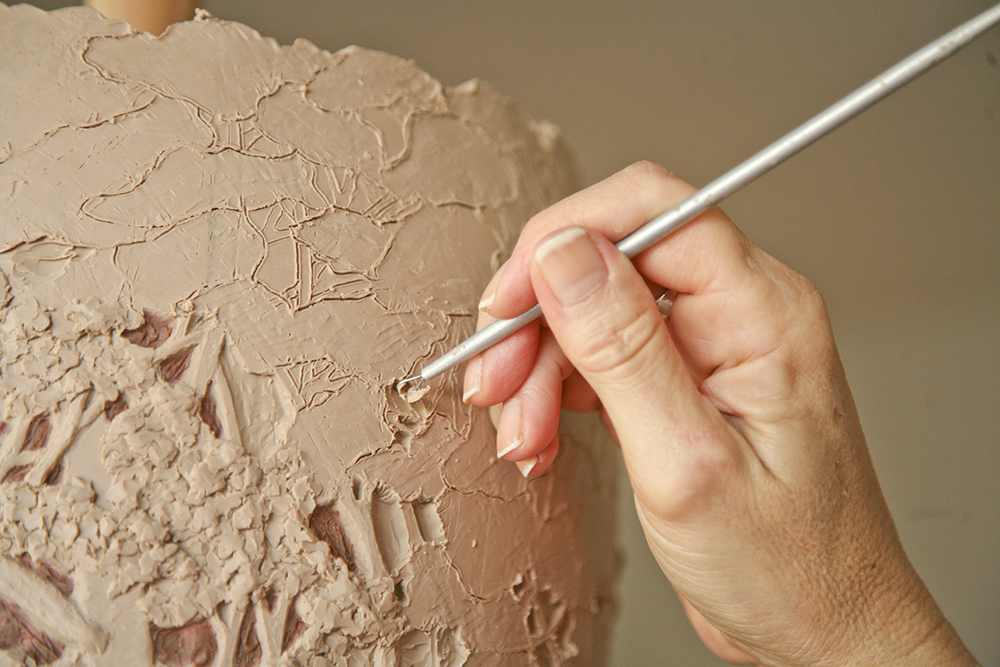
Additive and subtractive sculpting
This is a lengthy process and an unforgiving one when working in water based clay. It is during this lengthy process of hours, days and weeks of sculpting where I am able to more deeply reflect on the truest essence of the wisdom of the particular plant with which I am working. Often, new and unexpected fragments of wisdom come to me during this portion of the process. As I sculpt, I am constantly reflecting on the characteristics of the plant (and animals or insects) with an intention to remain as open as possible to truly hear its voice for me – for us. As greater and greater detail is sculpted I most often use extremely small wire tools (mostly handmade) and continue sculpting the elaborate details. The final step is to sign the piece, using a thin needle tool. Beside my signature and the copyright symbol, I carve an image which resembles a cursive, gracefully extended letter Z – this is my mark symbolizing the Wind – that great Source through which I am always guided and held. It is intended as both recognition and a reminder that I indeed never create alone.
Clay shavings from the subtractive sculpting
Once I feel the piece is complete, I walk away from it for several days or even a week or more allowing me to see it with fresh eyes. I then refine details and makes any desired changes to this final form. During this time, I also begin the writing process (the second element of my creative voice), with the sculpted vessel as my companion and inspiration. Companion writing accompanies all my work – as an integral part of it. I provide writing regarding the inspiration of the piece as it was created, the symbolism (overt or apparent) as well as facts about the specific plant. It is my hope that this writing will be a seed to the viewer and ignite deeper reflection and inspiration for them through the changing seasons of their lives. My writing process will continue to be edited during the lengthy casting process of the vessel; with the final edit typically completed when the first cast is finished.
The Casting Process
The lost wax process involves a dance between the positive and negative form of the artwork. The original clay sculpture (positive form) begins the process. From this positive form of the original, the mold creates the first negative form of the work and subsequently produces the second positive form in wax instead of clay. The invested wax form, via its placement in the auto-clave, provides the final negative form as the wax is melted out of the shell – hence the term “lost wax process.” This hard shell then gives birth to the final positive form in bronze. Without the talented hands at the foundry, my work would not be possible in any significant quantity. I often refer to these highly skilled artisans as my “ghost artists” as they are too rarely recognized for their highly valuable and capable contributions to my work.
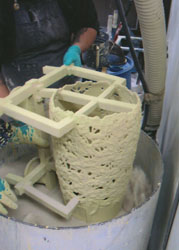
Investing
Once completed the original clay piece is staged for the mold process. A liquid rubber material is brushed onto the surface in many layers. Once dry, a plaster mother mold is made to support the flexible rubber mold. The wax directly out of the mold is called “undressed wax.” When cooled, the undressed wax is very carefully removed from the mold and ready for the wax dressing (cleaning) process. Each area that will ultimately be an open space must be cut out in the wax and cleaned, all seam lines detailed and the entire interior must be clean and smooth. My work is unique in the world of bronze sculptures as most sculptures have only an exterior appearance to consider, while my work requires diligent attention to the exterior, interior and the vast number of open spaces between these two. The wax dressing on my vessels is a very lengthy and tedious process requiring highly skilled hands.
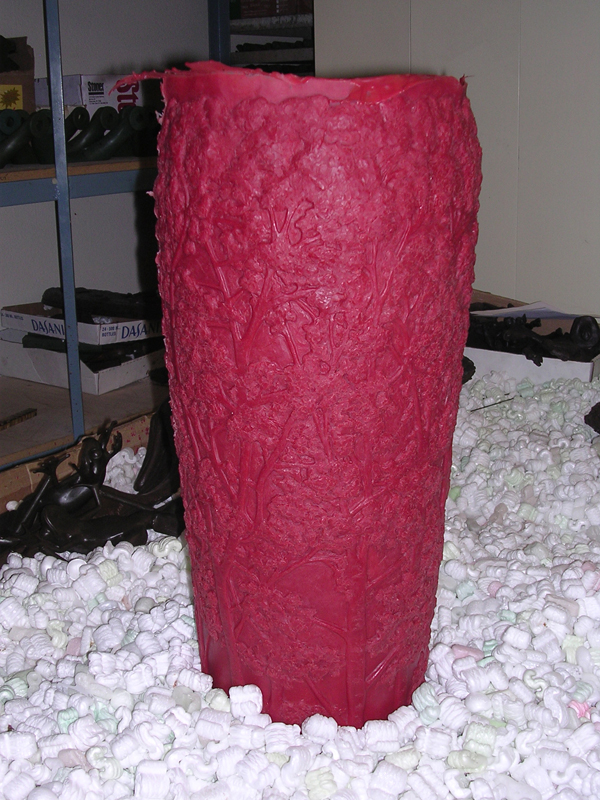
Undressed wax
The wax gates (also known as “sprues”) are attached. This gating system (or “tree”) is methodically designed to evacuate the wax. The gating, a critical element, provides channels for the hot, molten bronze to flow efficiently into the cavity created when the vessel is de-waxed.
After the wax is dressed, gated and cleaned, the investment process begins. This entails dipping the clean, gated wax vessel carefully and repeatedly into a silica type solution. The solution will dry to a hard ceramic-like shell, holding the intricate details of the dressed wax vessel in place. The resulting shell is a negative form of the vessel built around the positive form of the wax vessel.
When the shell process is complete and the vessel is completely dry it is ready to be seated in the autoclave. Inside the shell is the highly detailed wax vessel, which will be melted away in the autoclave. An autoclave applies both heat and pressure to the workload placed inside of it. The pressurized steam melts away the wax, hence the term “lost wax process”. The result is a perfected negative form of the vessel ready to receive the molten bronze to create the final positive form in bronze. The vessel is seated in a sand bed to receive the molten bronze, typically just less than 2000 degrees.
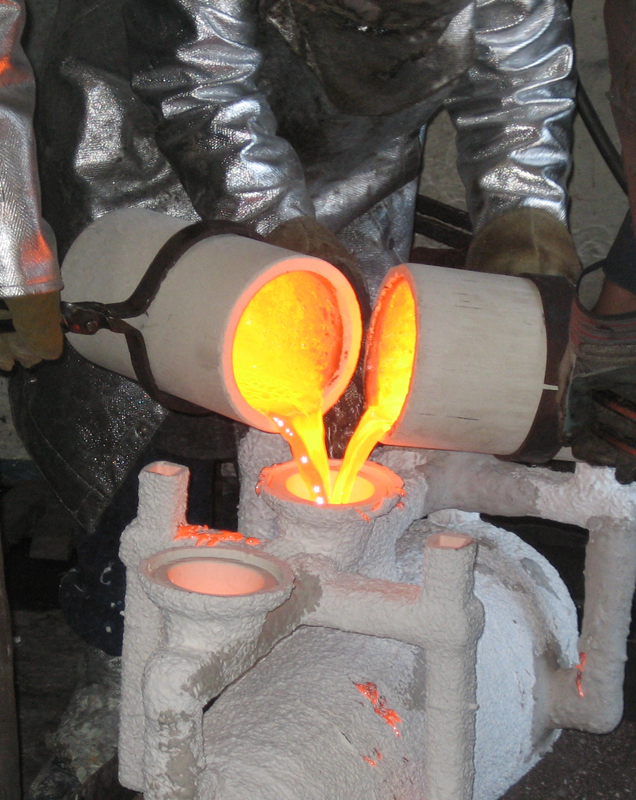
Pourning the bronze
The beautiful glowing molten bronze is very carefully poured into the vessel shell via the pouring cup. Complete fire-retardant attire is required for safety during this technically and physically skillful process.
As the hard investment shell is now carefully removed, the bronze vessel is exposed for the first time. The gates, now bronze, must be cut/ sawn flush to the vessel surface. This is the initial stage of removing investment. The vessel’s crevices and elaborate detail hold a great deal of the shell material that will be more delicately removed during the metal chasing process.
Chasing is foundry language for cleaning, welding and preparing the metal. During chasing (yet another highly skilled step), assorted pneumatic tools are used to grind, and polish the bronze matching the surface textures and detail to the original work of art. Chasing removes imperfections incurred during the casting process. As needed, separate pieces are welded together and refined. The metal surface is then chased to the exact level of refinement (to precisely match the original clay form) and the surface is prepared specifically for the desired final patina or finish.
With metal chasing complete, the piece is cleaned and prepared for patina through sandblasting.
The extremely lengthy process of applying patina can begin once the vessel has been thoroughly chased, sandblasted and prepared with a chemical base coat. I am intimately (and passionately) involved in this portion of the casting process.
Patina of the bronze vessel
Various chemicals, acids and/or dyes and pigments are applied directly onto the heated bronze vessel. All are applied in very thin layers using various brushes (and sometimes airbrushed) most often in combination with proper heat from a torch. Often masking of certain areas, constant removal of overflow chemical and intensive repeated metal preparation along with the highly skilled (and patient) talent of the patineur, are essential to achieving my signature intricate patinas. The patina application, for my work, is always notably labor intensive.
With patina complete, the piece is cooled. An additional final inspection is performed and the piece is then protected with lacquer and/or wax. Several additional inspections of the many subtle, yet critical details will be required before the piece is finally accepted by me and released to the public.
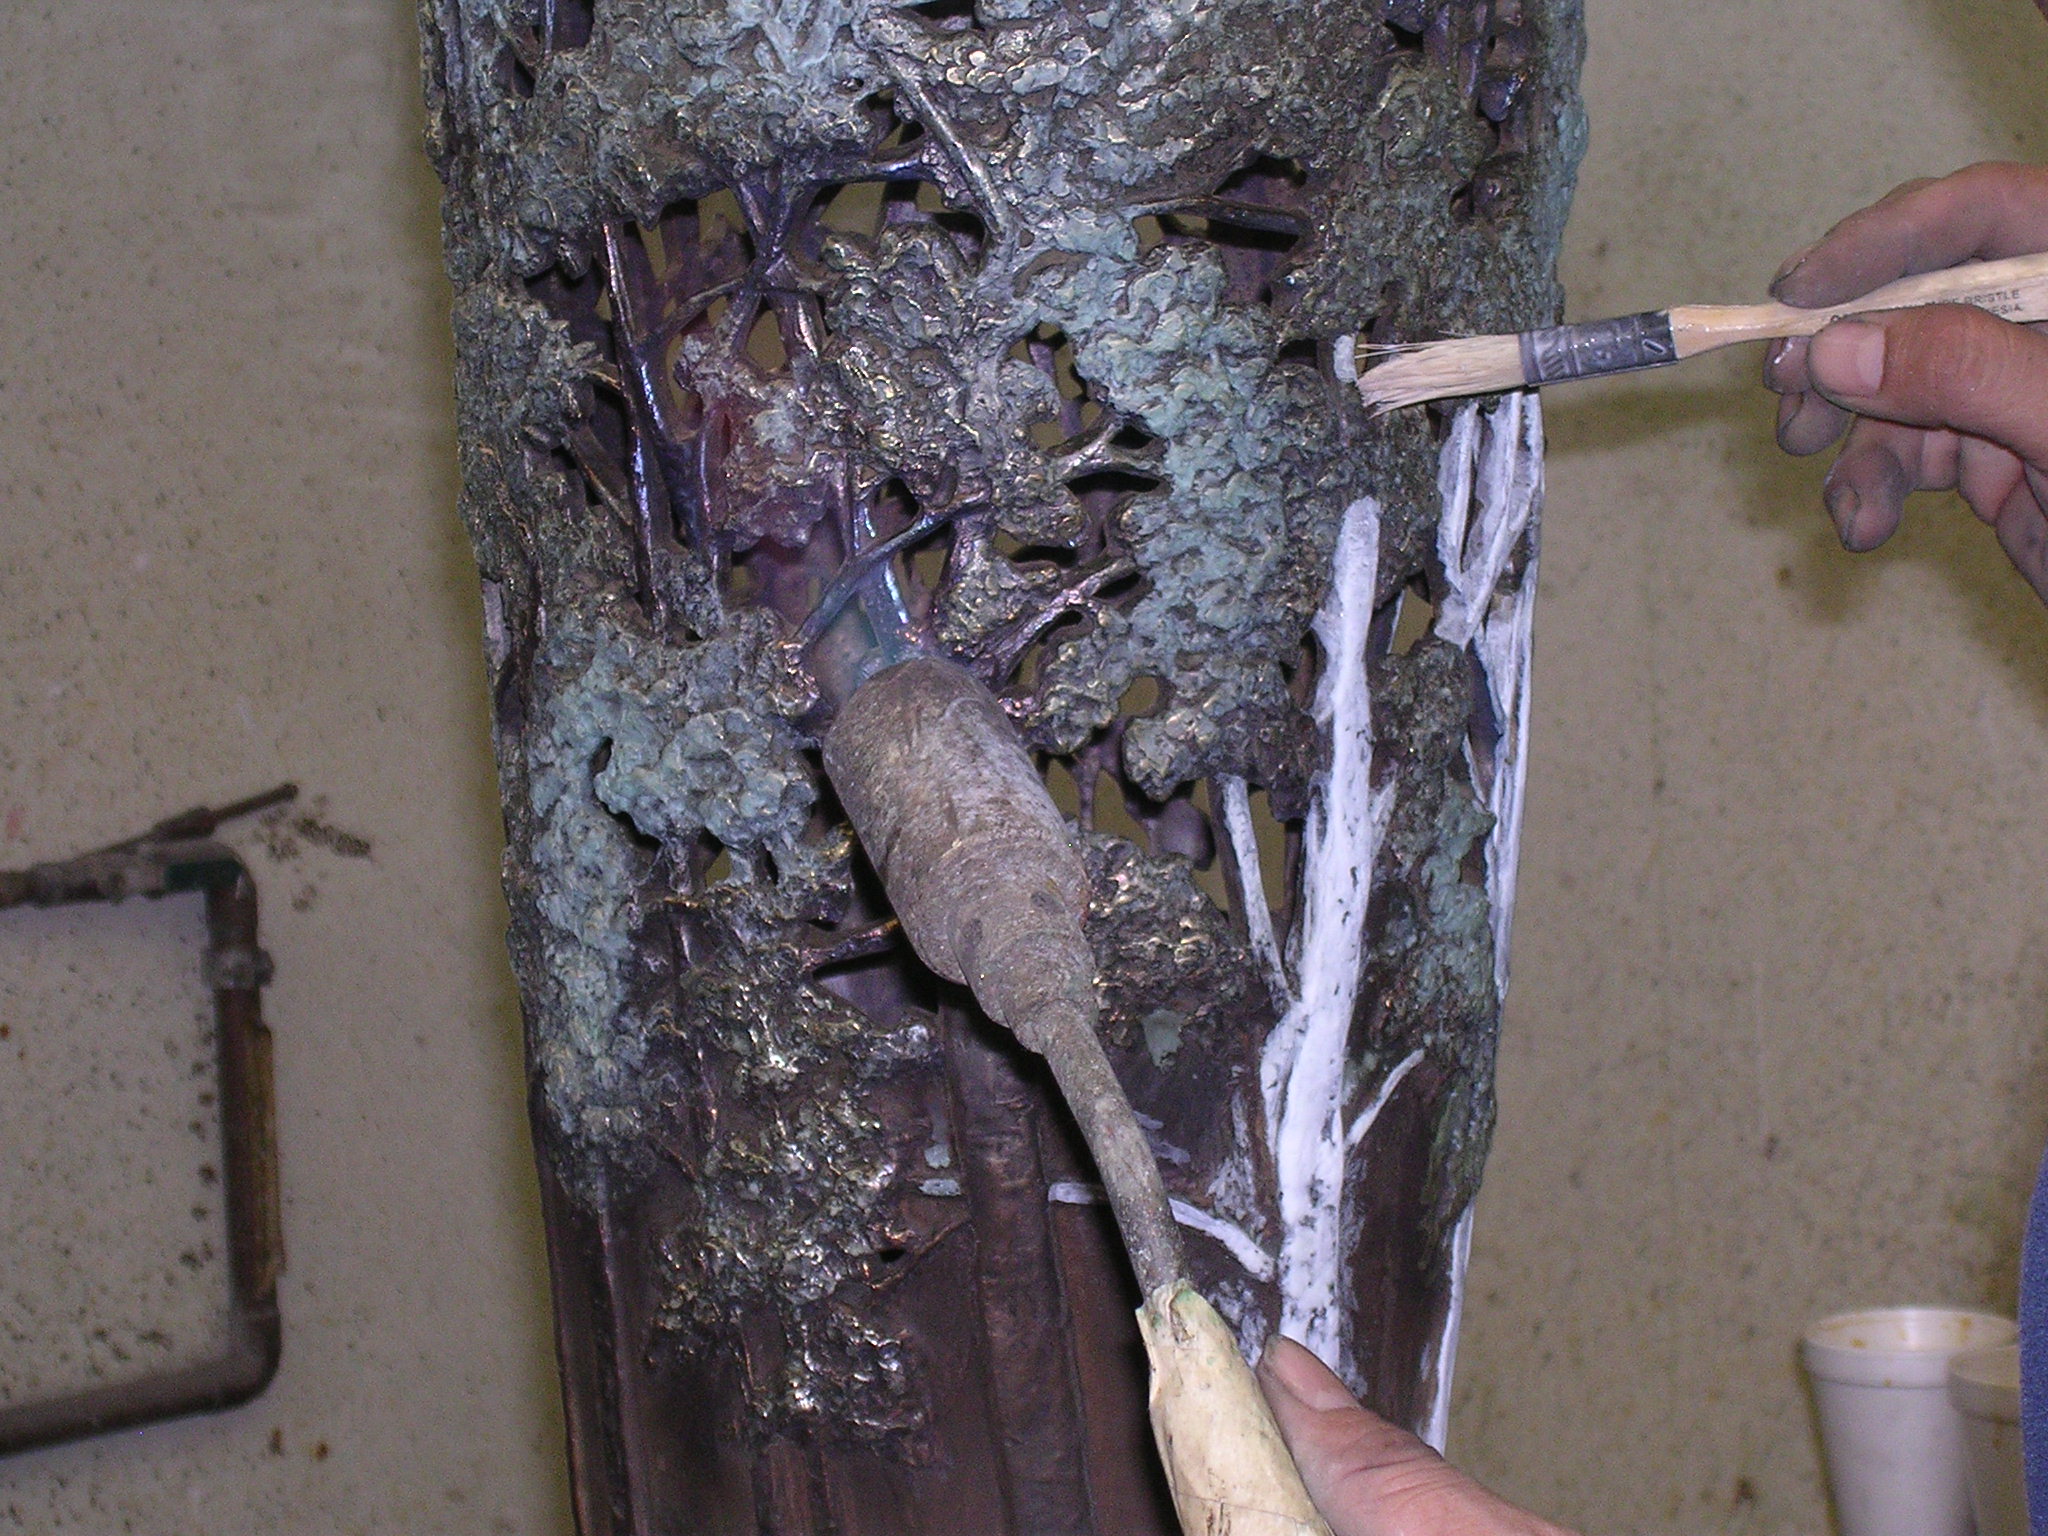
Patina
With patination complete, I review the extensive companion writings for the piece and complete any final editing necessary. The completed vessel is then professionally photographed and registered, along with the companion poetry and inspirational writing, with the United States copyright office.
Each of these steps need to be completed for each individual casting in the edition. Should any mistakes occur, at any stage, it often requires repeating the entire process once more. From the time a wax form is released from the mold, to the final inspection of a piece, typically requires between eight and twelve weeks. If any mistakes occur anywhere in the process, this time can be greatly lengthened.
